The Pillow Case Dress
I started with an actual pillowcase (Which I've seen very few of these 'pillowcase dress' tutorials actually do. Weird.) I measured 20 inches down to allow for seams (I really measured up so that I had the open-ended seam from the case for the bottom of my dress).
Next, I folded the cut edge over two inches, pinned it, and pressed the seam.
See?
Then, I measured 4 inches down from the top of the seam and one and a half inches from the sides. Truthfully, I'd probably measure in 2 inches from the sides. (or hem a little more in the coming step, because it looked a little funny on her. However, it was a little big, so it may fall better as she grows.)
Chop, Chop! Now this cut is a little too angled and I ended up cutting a little more to make it curved like the picture below. Oops!
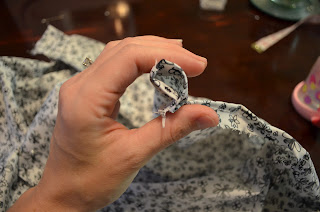
Here is where I measured a 1/2 inch seam for the arms. You might want to do this a full inch or more.
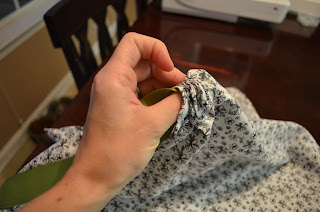
I pinned it and sewed. Man did I jack this up a few times. I suggest starting from the top and then stopping at the bottom of the arm hole and doing the other side in a similar way. Not the 'right' way, but it sure was my way! I also sewed the top casing which was WAYYYY easier.
Press it again.
Use a pin in your ribbon to feed it through the casing. I used one long ribbon that I tied on one shoulder. The ribbon can be interchangeable, and at some point, I plan on using two separate ribbons to tie a bow in each shoulder.
Done!
Here's my little model in her too big dress! Good thing she's growing like a weed!


No comments:
Post a Comment